
How to install insulated siding is a question many homeowners ponder, seeking to improve their home’s energy efficiency and curb appeal. This guide delves into the process, from selecting the right siding material to mastering the installation techniques. We’ll explore various siding types, their pros and cons, and provide a step-by-step approach to ensure a successful and aesthetically pleasing outcome. Whether you’re a seasoned DIY enthusiast or a first-time installer, this comprehensive guide will equip you with the knowledge and confidence to tackle this home improvement project.
We’ll cover essential preparation steps, including surface cleaning and accurate measurements, followed by detailed instructions for installation methods. We will also address common challenges like working around windows and doors, ensuring a watertight seal and a professional finish. Finally, we’ll discuss crucial maintenance practices to maximize the lifespan and performance of your new insulated siding.
Types of Insulated Siding
Choosing the right insulated siding involves understanding the various materials available and their respective advantages and disadvantages. This section will explore the common types, comparing their cost, durability, energy efficiency, and maintenance needs to help you make an informed decision.
Insulated Vinyl Siding
Vinyl siding, often incorporating a foam backing for insulation, is a popular choice due to its affordability and ease of installation. The foam core provides a degree of thermal resistance, reducing energy loss through the walls. However, vinyl’s durability is somewhat limited; it can be susceptible to damage from impact and extreme temperature fluctuations, potentially leading to cracking or warping. While relatively low-maintenance, it may require occasional cleaning to maintain its appearance.
Insulated Fiber Cement Siding
Fiber cement siding, a composite material of cement, cellulose fibers, and other additives, offers superior durability compared to vinyl. It’s resistant to fire, insects, and rot, making it a long-lasting option. When combined with a foam insulation layer, it provides excellent energy efficiency. However, fiber cement siding is significantly more expensive than vinyl and requires professional installation due to its weight and complexity. Regular maintenance, such as cleaning and occasional painting, is necessary to preserve its appearance and protect against weathering.
Insulated Foam Siding
Foam siding, typically made from polyurethane or polyisocyanurate, provides exceptional thermal performance. Its high R-value significantly reduces heat transfer, leading to substantial energy savings. It’s lightweight and relatively easy to install, making it a good DIY option for some projects. However, foam siding can be susceptible to damage from impact and UV degradation, potentially requiring more frequent replacement than other options. It also may not be as aesthetically pleasing as other siding types to some homeowners.
Comparison of Insulated Siding Types
The following table summarizes the key characteristics of different insulated siding types:
| Siding Type | R-Value (per inch) | Lifespan (Years) | Maintenance |
|---|---|---|---|
| Vinyl (with foam backing) | Approximately R-4 to R-8 (depending on foam thickness) | 20-30 | Low; occasional cleaning |
| Fiber Cement (with foam backing) | Approximately R-6 to R-12 (depending on foam thickness) | 50-75 | Moderate; cleaning and periodic repainting |
| Foam (Polyurethane or Polyisocyanurate) | Approximately R-6 to R-7 per inch | 20-30 | Low to Moderate; depending on exposure and quality |
Installation Methods and Techniques
Installing insulated siding requires careful planning and execution to ensure a long-lasting, energy-efficient exterior. Proper installation techniques are crucial for achieving a professional finish and maximizing the benefits of the insulated siding. This section will outline the installation process for two common types: foam-backed vinyl siding and insulated fiber cement siding.
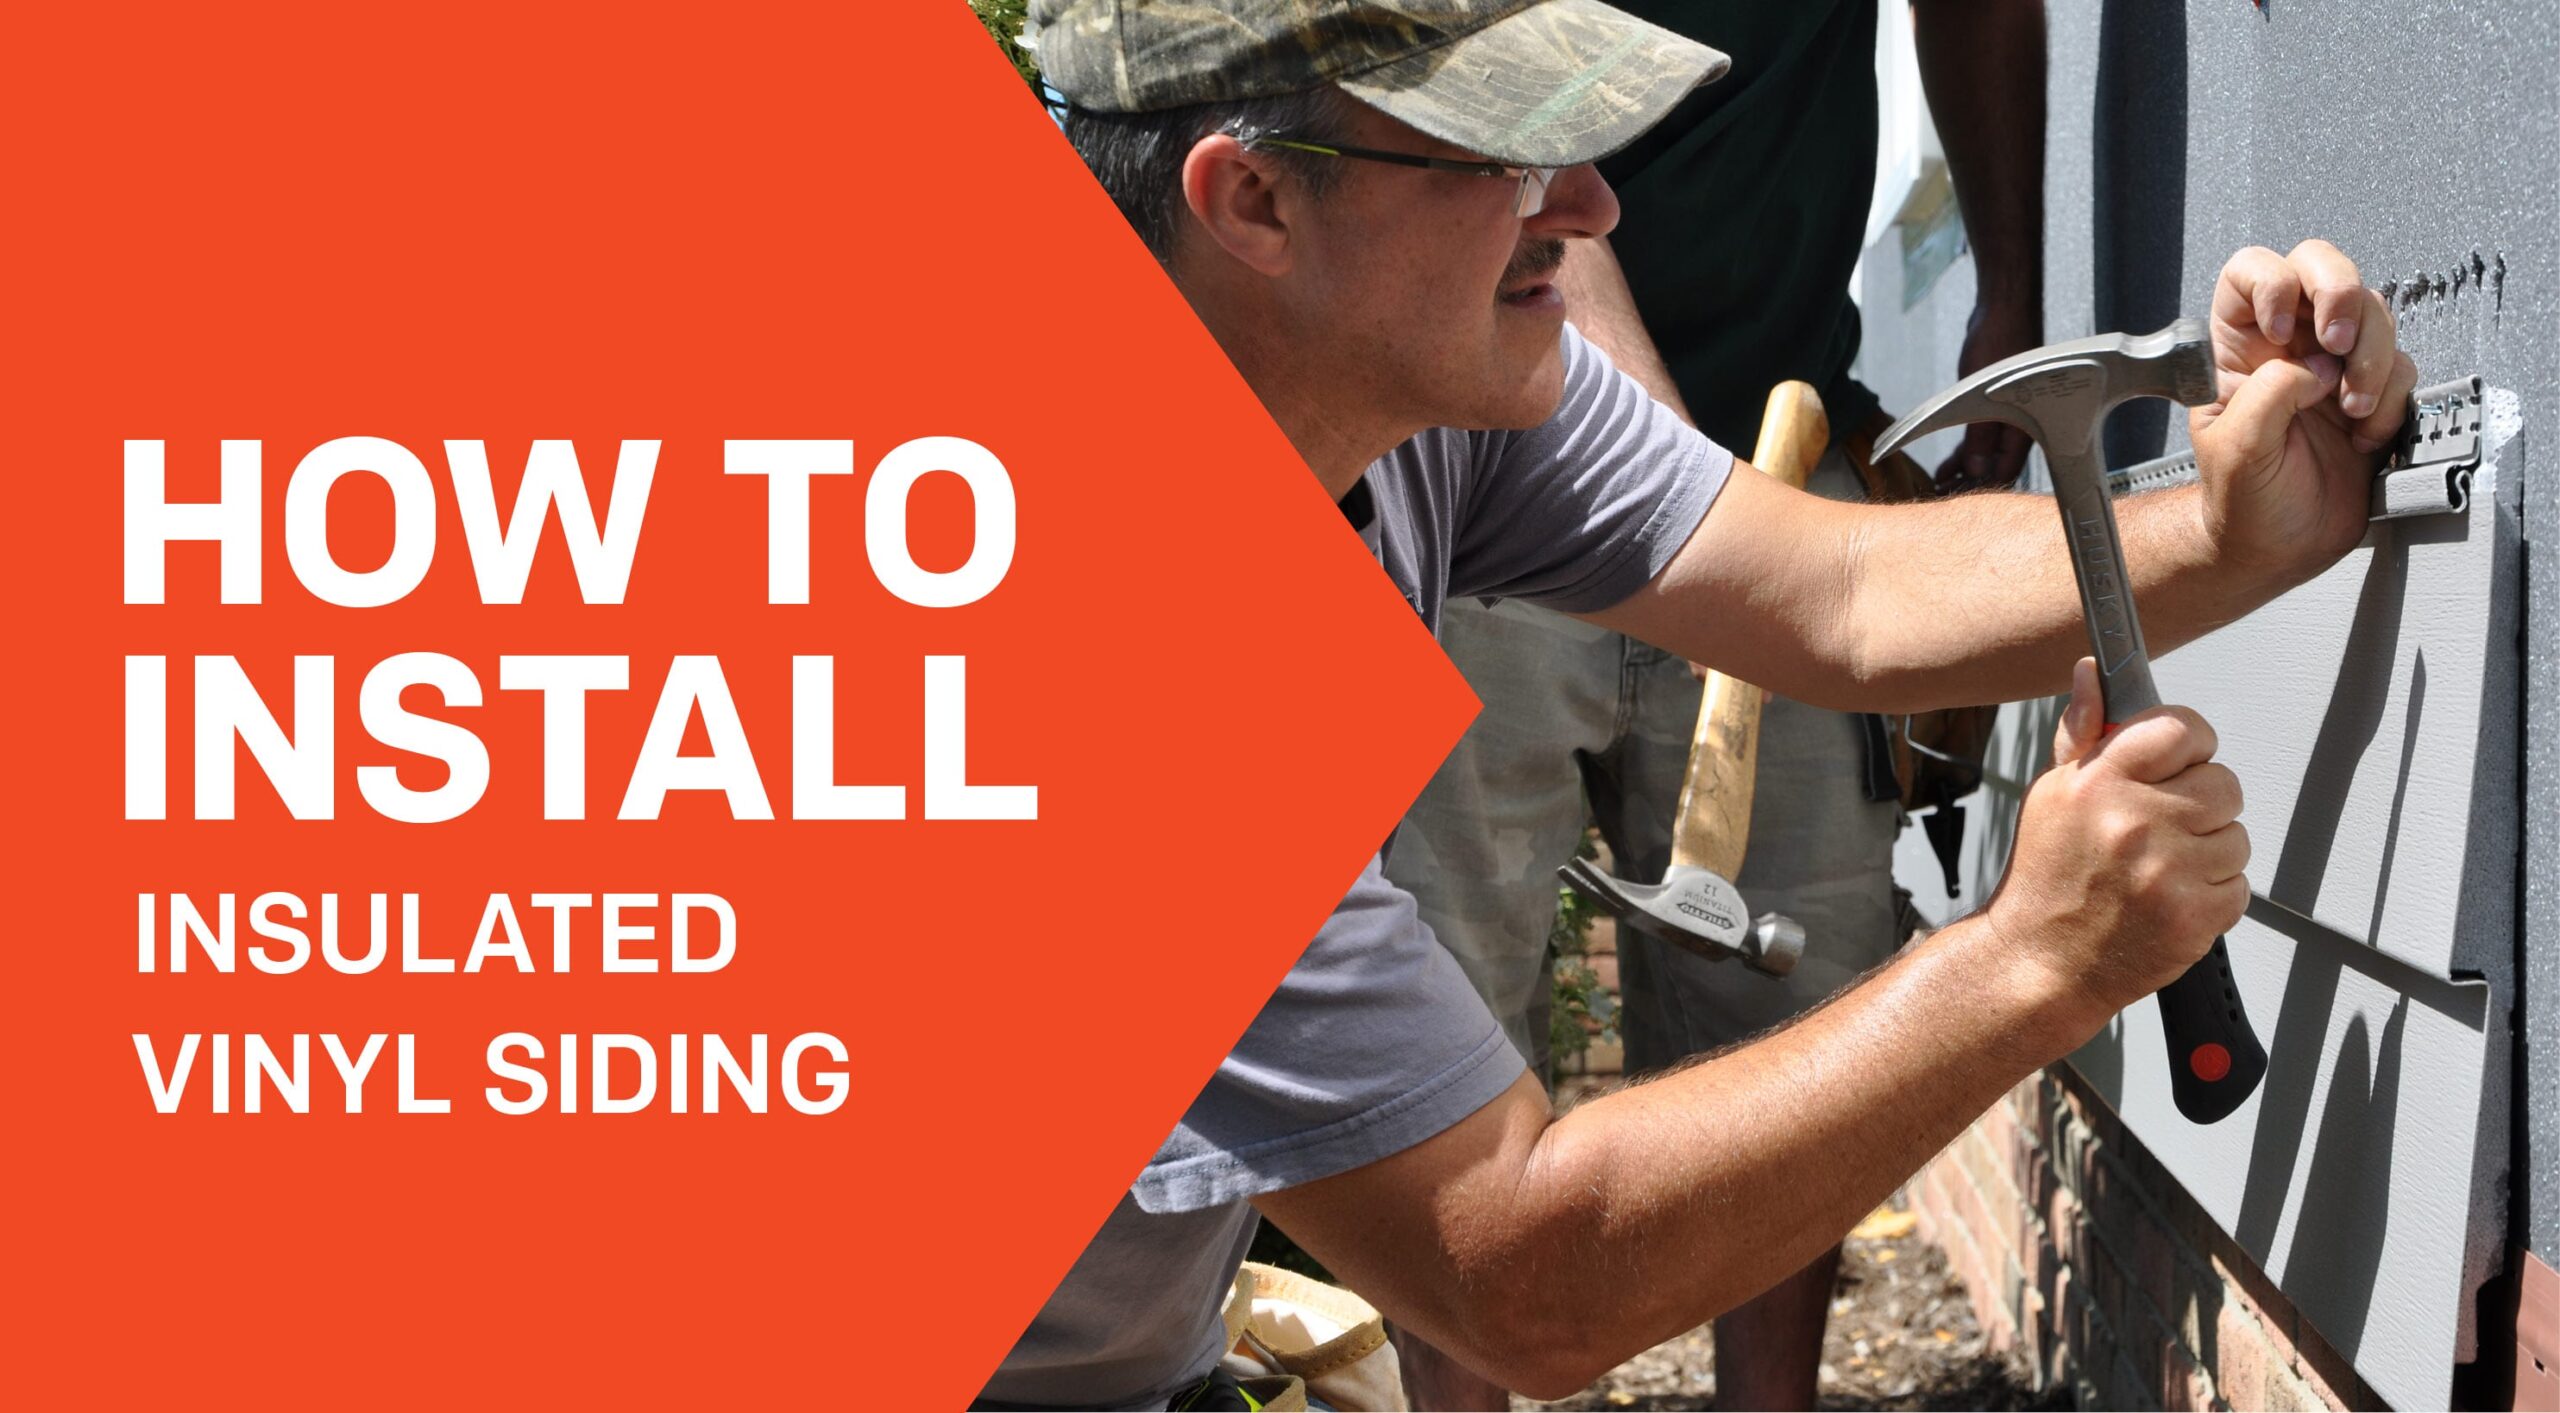
Foam-Backed Vinyl Siding Installation
Foam-backed vinyl siding offers a straightforward installation process, ideal for DIY enthusiasts with basic construction skills. Its lightweight nature and interlocking design simplify handling and alignment.
Proper preparation of the wall surface is paramount. This includes removing any loose or damaged materials, repairing any imperfections, and ensuring the wall is clean and dry. A properly prepared surface guarantees a secure and aesthetically pleasing final result.
- Step 1: Measuring and Cutting: Accurately measure and cut the siding panels to fit each section of the wall, accounting for overlaps and corners. Use a sharp utility knife or siding shears for clean cuts.
- Step 2: Installing Starting Strips: Begin by installing J-channel or starting strips at the bottom of the wall, providing a level base for the first row of siding. Ensure these strips are perfectly level and plumb using a level and plumb bob.
- Step 3: Attaching the First Row: Snap the first row of siding panels into the starting strips, ensuring a tight fit and proper alignment. Use appropriate fasteners to secure the panels to the wall framing, spacing them according to manufacturer recommendations.
- Step 4: Installing Subsequent Rows: Continue installing subsequent rows, ensuring each panel overlaps the previous row by the specified amount. Maintain consistent alignment and spacing throughout the installation process. Regularly check for plumb and level using a level and plumb bob.
- Step 5: Finishing: Install corner trim, J-channel, and other finishing pieces as needed, according to the manufacturer’s instructions. Properly finishing the edges contributes to a clean and professional appearance.
Insulated Fiber Cement Siding Installation
Insulated fiber cement siding offers superior durability and fire resistance compared to vinyl. However, its heavier weight and more complex installation process require more experience and specialized tools.
The installation of insulated fiber cement siding necessitates a higher level of precision and attention to detail. This is due to the material’s weight and the need for precise alignment to ensure a seamless and visually appealing finish. Properly installed fiber cement siding will provide years of protection and enhance the curb appeal of your home.
- Step 1: Framing Preparation: Ensure the wall framing is properly prepared and braced to support the weight of the heavier fiber cement panels. This includes checking for structural integrity and adding bracing where necessary.
- Step 2: Sheathing and Water-Resistive Barrier: Install appropriate sheathing and a water-resistive barrier to protect the wall from moisture. This is crucial for preventing damage and ensuring the longevity of the siding.
- Step 3: Installing Furring Strips: Install furring strips to create a consistent spacing between the wall and the siding, allowing for proper ventilation and drainage. This step is essential for preventing moisture buildup and ensuring the siding’s longevity.
- Step 4: Panel Installation: Carefully lift and position each fiber cement panel, ensuring proper alignment and overlap. Use specialized fasteners designed for fiber cement siding and follow the manufacturer’s recommendations for fastener spacing and placement.
- Step 5: Caulking and Finishing: Apply caulk to seal all seams and joints, preventing water penetration. Install trim pieces and other finishing components to complete the installation and enhance the aesthetic appeal.
Specialized Tools and Equipment
Professional-looking siding installation requires specialized tools and equipment. For both vinyl and fiber cement siding, a quality measuring tape, level, plumb bob, utility knife or siding shears, and appropriate fasteners are essential. For fiber cement, a power drill with a drill bit appropriate for the fasteners is also crucial. A nail gun can significantly speed up the installation process, especially for larger projects. For both types, safety glasses and work gloves are mandatory. Using the correct tools and equipment ensures a faster, more accurate, and safer installation.
Finishing Touches and Maintenance
Properly finishing your insulated siding installation is crucial for ensuring both its aesthetic appeal and its long-term performance. Overlooking these details can compromise weather protection and potentially lead to costly repairs down the line. Careful attention to sealing and trimming will protect your investment and enhance your home’s curb appeal.
Caulking and Sealing
Caulking and sealing are essential steps in completing your insulated siding installation. These processes prevent water infiltration, a major cause of damage to siding and underlying structures. High-quality, exterior-grade caulk should be used in all gaps and joints where the siding meets other building components, such as windows, doors, and trim. Pay particular attention to areas prone to expansion and contraction due to temperature changes. For example, the junctions between siding panels and around any penetrations (like pipes or vents) require meticulous sealing to prevent water ingress. A smooth, continuous bead of caulk ensures a weathertight seal. Different types of caulk are available, each suited to specific applications; choosing the correct type is vital for optimal performance. For instance, a flexible caulk is preferable for areas subject to movement, while a more rigid caulk might be suitable for less dynamic joints.
Adding Trim
Adding trim completes the aesthetic look of your insulated siding installation. Trim pieces provide a finished appearance and can help to further protect the edges of the siding. Trim should be installed neatly and securely, using appropriate fasteners and ensuring a tight fit. Common trim pieces include corner boards, J-channels, and window and door casings. Properly installed trim not only improves the appearance but also adds an extra layer of protection against the elements, preventing water damage and minimizing wear and tear on the siding edges. The selection of trim material should complement the siding, considering both aesthetics and durability.
Insulated Siding Maintenance
Regular maintenance is vital for preserving the longevity and performance of your insulated siding. A well-maintained siding system will offer years of reliable protection and enhance your home’s value. Neglecting maintenance can lead to premature deterioration, necessitating costly repairs or even complete replacement. A proactive maintenance schedule will significantly extend the life of your siding.
Regular Siding Maintenance Checklist
Regular inspections are the cornerstone of effective siding maintenance. It’s recommended to perform a thorough inspection at least twice a year, in spring and fall. This allows you to address minor issues before they escalate into major problems.
- Spring Inspection: Check for any damage caused by winter weather, such as cracks, loose panels, or areas where caulk has failed. Clean the siding using a pressure washer (low pressure setting) to remove dirt, grime, and debris.
- Fall Inspection: Inspect for damage caused by summer weather, such as insect infestation or sun damage. Clean the siding again and check caulking for any signs of wear and tear.
- Regular Cleaning: Regular cleaning removes dirt, mildew, and other contaminants. Use a soft-bristled brush and a mild detergent solution, rinsing thoroughly with water. Avoid abrasive cleaners that can damage the siding’s surface.
- Repairing Damaged Areas: Promptly repair any damaged areas, such as cracks or loose panels. For minor repairs, you may be able to replace individual panels or sections. For more extensive damage, it’s advisable to consult a professional.
- Caulk Inspection and Replacement: Regularly inspect all caulked areas for cracks or gaps. Replace any damaged caulking with a high-quality exterior-grade product.
Epilogue
Successfully installing insulated siding significantly enhances your home’s energy efficiency, protects it from the elements, and boosts its aesthetic value. By carefully following the steps outlined in this guide, paying attention to detail, and selecting appropriate materials, you can achieve a professional-looking result that will stand the test of time. Remember that proper preparation and attention to detail are key to a successful installation. With the right approach, you can enjoy the benefits of a beautifully insulated and energy-efficient home for years to come. Don’t hesitate to consult with professionals for complex projects or if you encounter unexpected difficulties.